Redmi 9 India (cattail) Bootloader Unlocking Guide
Complete step-by-step walkthrough to unlock the bootloader on a Redmi 9 India (cattail) running MIUI, using the official Mi Unlock Tool — plus what to do after unlocking.
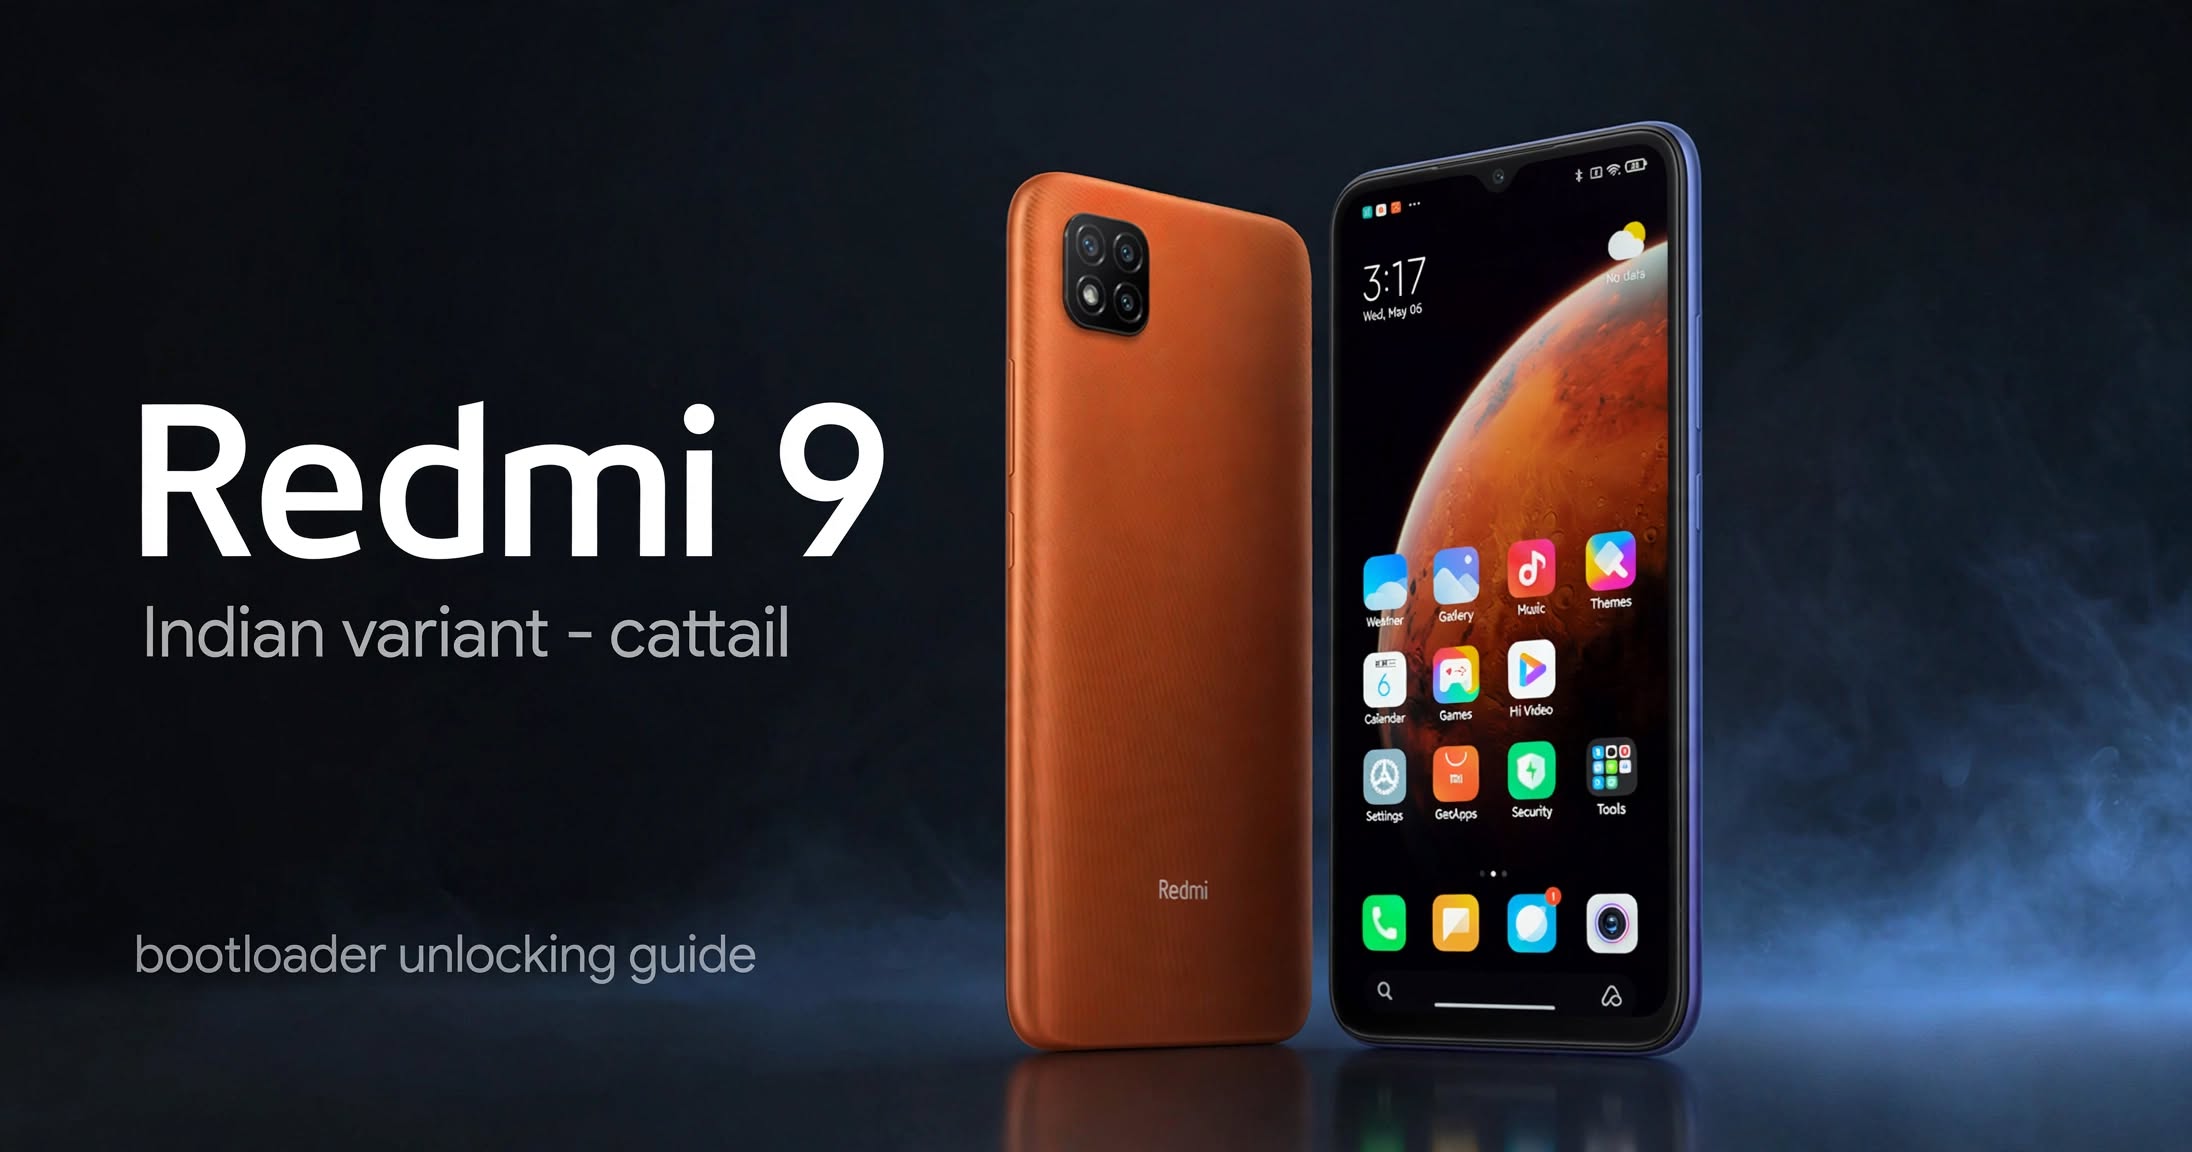
WARNING: If you’re trying this on your personal or a very important phone, let me say it plainly: leave it and do something else. I’m not responsible for bricked phones or melted cables. This guide also assumes you know your way around a computer, and that you have unlocked a phone’s bootloader before.
If you’re the owner of a Redmi 9 India variant and you want to install a custom ROM, root it, or flash a different recovery — you need to unlock its bootloader first. This is the complete walkthrough for cattail on MIUI, using Xiaomi’s official Mi Unlock Tool.
Source video: Redmi 9 India Bootloader Unlocking (YouTube)
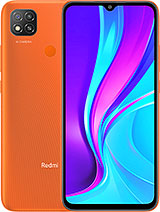 Redmi 9 India — codename "cattail" (this guide's target)
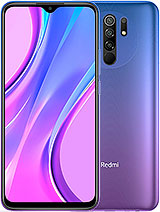 Redmi 9 Global — codename "lancelot" (not compatible)
Redmi 9 (India), codename cattail, is also sold as the Redmi 9C with codename angelica in most other markets. Do not confuse it with the Redmi 9 Global, codename lancelot — shown on the right above. Flashing the wrong firmware or bootloader on either device will brick it.
This guide is strictly for the Redmi 9 (India), codename
cattail, running MIUI.
Confirm your model before anything else
Check Settings > About > Model (or dial *#*#6485#*#* and look at the product name). If it says anything other than cattail, stop here — this guide will not work for your phone.
1. Prerequisites
You need to have:
- A Redmi 9 (India) variant phone. The Redmi 9 Global will not work.
- A working Windows PC (not Linux or macOS, since some of the drivers mentioned here are Windows only — use a VM if you don’t have Windows).
- A USB cable to connect (make sure it’s a data cable and isn’t loose, we don’t want it disconnecting mid-operation).
- A Mi account (important). It must be registered in the same country the phone was bought in, or the unlock is refused outright — see Troubleshooting.
- A working SIM card with an active data plan (essential for the unlocking process).
PS: Xiaomi normally wants your Mi account — and your Mi Community account — to be at least 30 days old before it will bind a device to it. Enforcement is inconsistent, though: plenty of accounts, including brand new ones, bind and unlock with no delay at all. If you hit
Couldn't verify, account age is the first thing to check.
PS: One Mi account is tied to one unlockable device. If you have already used the account to unlock another phone, the tool may refuse outright or make you wait out a lockout. Unlock with a Mi account you haven’t used for unlocking before.
2. Setting up the phone
- Make sure the phone is fully charged.
- Remove all accounts by going into Settings > Accounts, then individually removing every account, including Google accounts.
- Log out of your Mi account by going into Settings > Mi account.
- Back up all data from your device. You can use my tool, droidmgr, which has a built-in backup option. Then back up again using the backup tool in Settings.
- Finally, reset the phone to factory settings. You’ll get a warning or two, so press OK.
- After the reset completes, set the phone up again and connect it to a WiFi network. Then log back into your Mi account.
- Go to Settings and enable Developer options.
- Inside Developer options, enable OEM unlocking and USB debugging.
- Insert your SIM card, then go to Mi Unlock and click Agree.
- Make sure you’re on mobile data and Wi-Fi is turned off, then tap Check Miui status.
- Press “Add account and device” and wait for the success message saying your Mi Account is associated. Once added, do not touch it again.
Why “do not touch it again”? Because that tap is what binds the account to this device, and it also starts the unlock timer. Logging out of the Mi account, removing the account from the phone, factory resetting again, or swapping to a different SIM can all wipe that binding — and the next unlock attempt starts the wait from zero.
The four screens you’ll move through, in order:
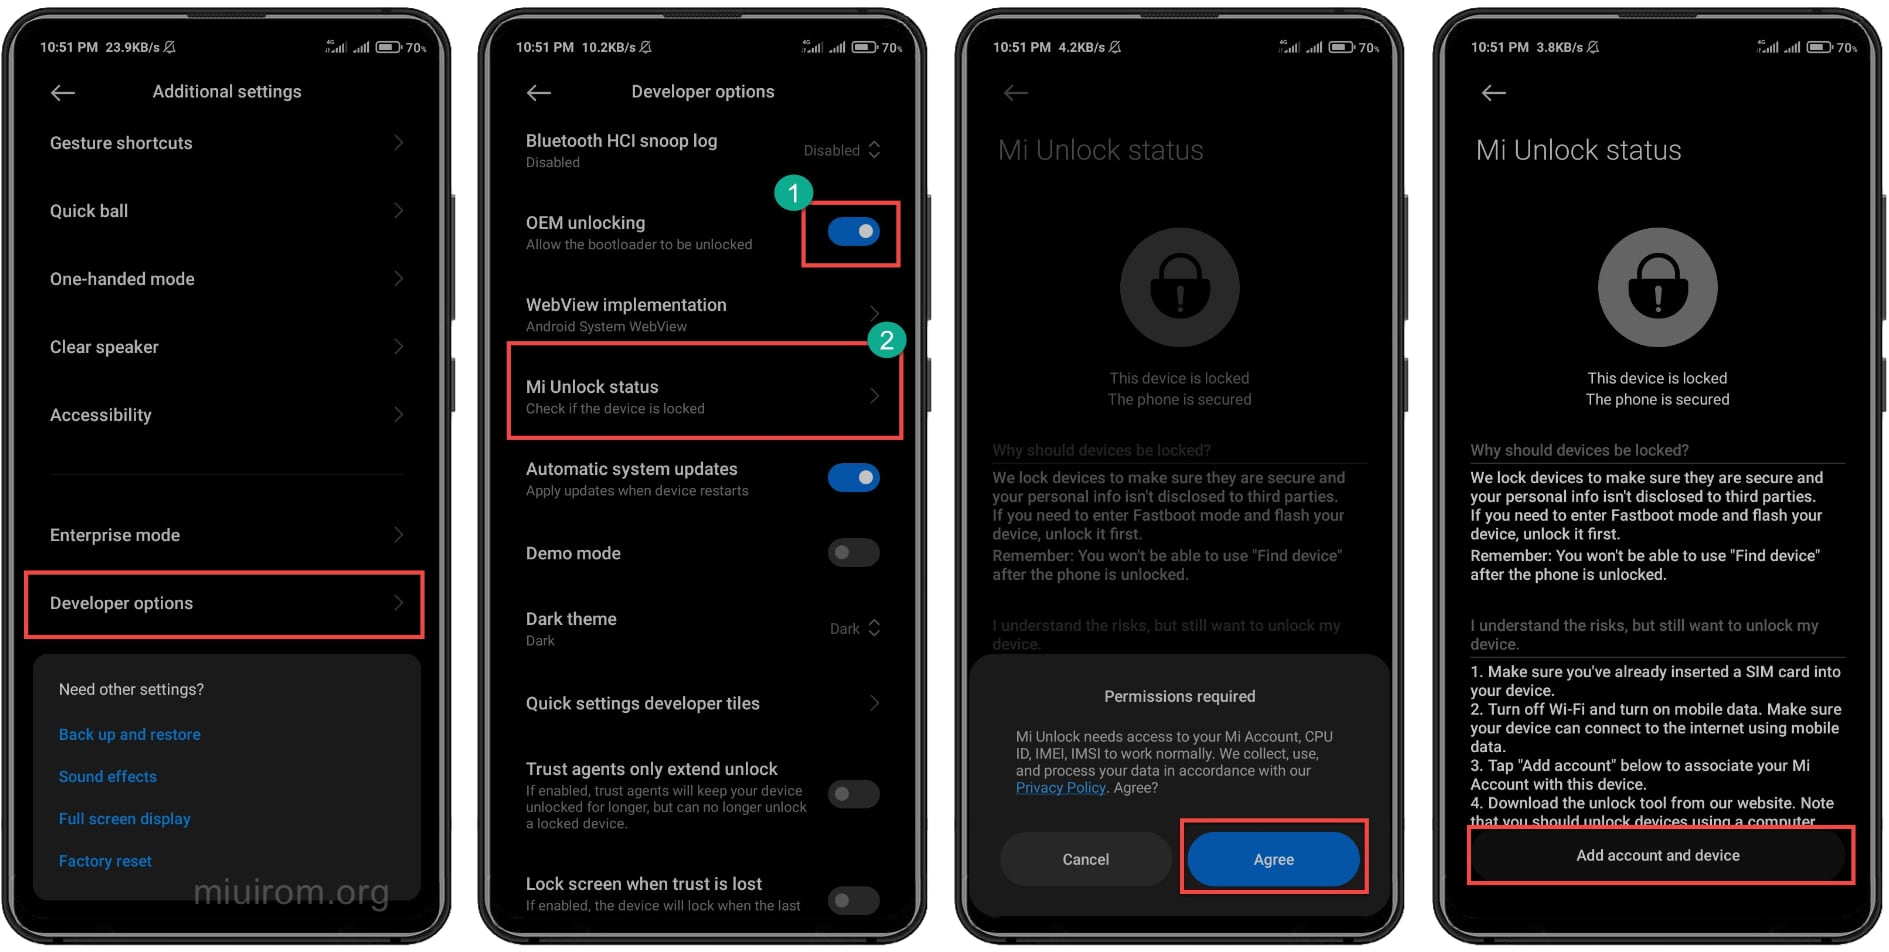 Developer options → OEM unlocking → Mi Unlock status → Add account and device. Screenshot courtesy of miuirom.org.
3. PC setup and unlocking
Entering fastboot mode
The guide assumes you already know this, but since it’s the step people get stuck on:
- Power the phone off completely.
- Hold Power + Volume Down together until the bunny screen appears, then let go.
To exit fastboot without unlocking anything, hold the Power button for about 10–20 seconds until the phone reboots.
The unlocking itself
- On your PC, download the Mi Unlock Tool along with the MediaTek USB drivers.
- Extract the downloaded USB drivers, install them, and restart your computer.
- Extract the Mi Unlock Tool zip file.
- Inside the extracted folder, run
miflash_unlock.exeas administrator. The tool needs an internet connection to verify your account. - Log into the tool using the same Mi account you used on your phone.
- Boot your phone into Fastboot mode and connect it to the PC with your USB cable.
- Make sure the tool shows your phone as connected. If there are driver issues, check the tool settings and reinstall the drivers.
- Click Unlock. You’ll get a warning or two, so click Unlock anyway.
- The tool will verify your device. If it gives you a wait time, you must wait for this period to complete.
- After the wait time completes, boot your phone into Fastboot mode again, connect it, and try to unlock again.
- Finally, the tool will show Unlocked successfully, and your phone will automatically reset and reboot.
The two states you’ll see in the tool:
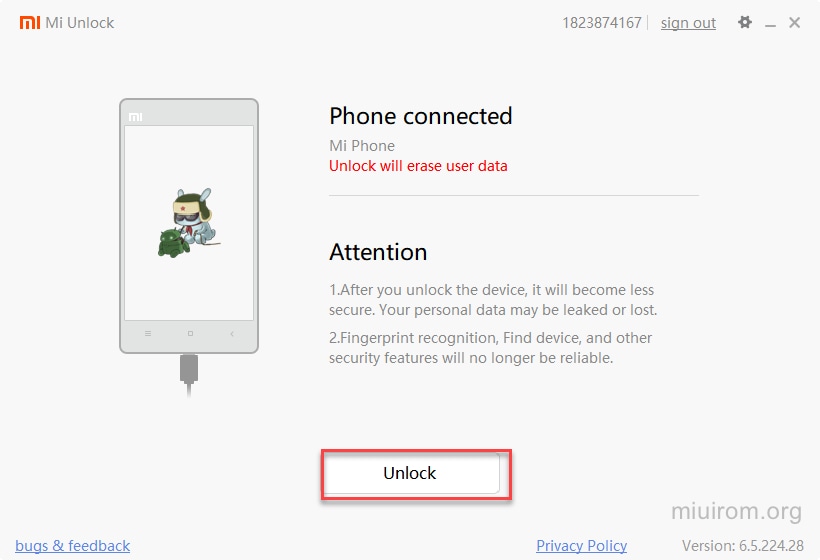 Your phone detected — click Unlock. Screenshot courtesy of miuirom.org.
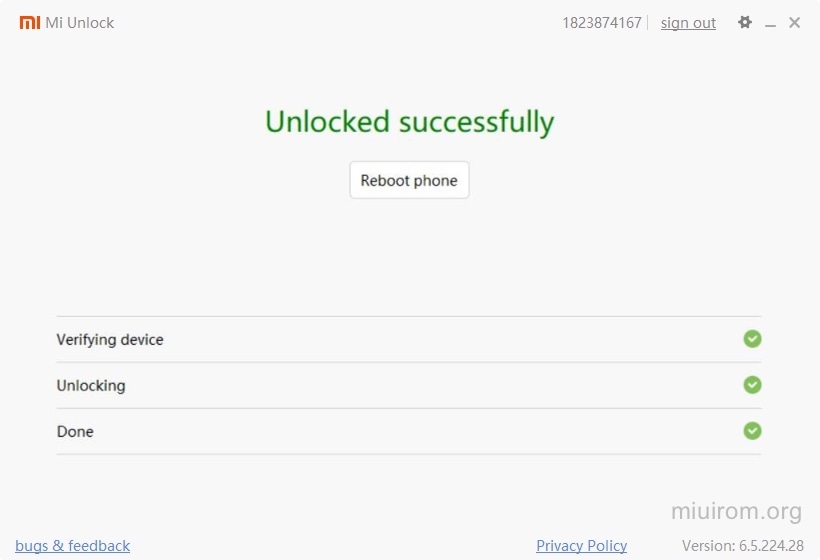 Unlocked successfully. Screenshot courtesy of miuirom.org.
About the wait time
This is the part nobody finds pleasant:
- The timer starts the moment you tap “Add account and device” in step 11 of the previous section — not when you open Mi Unlock, and not when you open the PC tool.
- On MIUI, expect the classic 168 hours (7 days). Xiaomi cut this down to 72 hours on newer HyperOS devices, but
cattailis a MIUI-only phone, so assume 168. - Sometimes you get no wait at all. Enforcement varies by account and by server load, and plenty of accounts — including newly created ones — unlock immediately.
PS: When you come back after the wait, do not touch the phone or the Mi account between step 11 of Section 2 and the successful unlock. Every logout, reset, or account swap is a fresh zero on the timer.
4. After unlocking
Bootloader unlocked is the starting line, not the finish. Open a terminal/command prompt with adb and fastboot installed, put the phone in fastboot mode, and confirm you’re actually unlocked:
1
2
fastboot devices
fastboot getvar unlocked
You want unlocked: yes. If you don’t get that, the unlock didn’t take.
PS: Once the bootloader is unlocked, the OEM unlocking toggle disappears from Developer options and stops coming back on a stock MIUI build. That is normal, not a sign that something broke.
Flashing a custom recovery
There is no official TWRP for cattail. The usual route is a community build — Pitch Black Recovery, a TWRP fork, is the long-standing option people use on this device. Always grab it from the XDA thread for your device, never from a random download site.
1
2
fastboot flash recovery twrp-cattail.img
fastboot reboot recovery
On first boot, TWRP will ask you to Format Data. Say yes — without it you’ll get boot loops and random errors, because MIUI’s encryption isn’t understood by the recovery.
Rooting with Magisk
Magisk is the standard root method and doesn’t need a custom recovery at all. Pull boot.img from a stock cattail ROM of the exact same MIUI version you’re running, patch it in the Magisk app, then:
1
2
fastboot flash boot magisk_patched.img
fastboot reboot
Flashing a boot.img from a different MIUI version is a good way to end up in a bootloop. Match the version.
Flashing a custom ROM
Stock and custom ROMs for cattail are distributed on sites like mifirm.net. Use MiFlash (fastboot ROM) with the USB drivers from Section 3, and read Section 5 before you touch the flash button.
Relocking the bootloader
Changed your mind, or want the stock experience back?
1
2
fastboot flashing lock
fastboot reboot
Warning: Relocking wipes all user data on the phone, exactly like the initial factory reset. Also make sure you’re back on a stock
cattailROM before relocking — locking a bootloader onto a custom ROM can leave you unable to boot.
5. Don’t brick your phone
This is the part that actually ruins phones. Read it once, then read it again before flashing anything.
- Verify the codename, every time. With the phone in fastboot mode, run
fastboot getvar product. If it does not saycattail, close the tool and stop. - Never flash a
lancelotROM.lancelotandcattaillook identical on the outside and share most of their hardware. Flashing one onto the other bricks the phone, and Xiaomi does not provide an easy out — it usually means a trip to an authorised service centre. - Match ROM to device, not to marketing name. Downloads for “Redmi 9” are frequently for
lancelot. Always check the codename listed on the download page. - Match the ROM to your MIUI version when taking
boot.img. A patchedboot.imgfrom another version is a bootloop at best. - Keep your stock ROM handy. Before flashing something custom, download the stock
cattailfastboot ROM and keep it on your PC. Restoring stock is far easier when you already have the file. - Know how to get back to fastboot. If a ROM hard-bricks the phone, try Power + Volume Down for 15–20 seconds, and if that fails, Power + Volume Up + Volume Down together to reach the EDL/rescue path.
6. Troubleshooting
Mi Unlock Tool doesn’t detect the phone at all
Almost always drivers or the cable. Reinstall the MediaTek USB drivers and reboot, try a different USB port (prefer a rear USB 2.0 port — some USB 3 ports and hubs fail to negotiate with this chipset), and try a different data cable. In the tool, go to the gear icon and make sure the USB backend is set correctly for your chipset.
“This device is not associated with your Mi account”
The account binding didn’t stick. Go back and redo Add account and device on the phone, on mobile data with WiFi off, and wait for the actual success message before touching anything else.
“Couldn’t verify” when adding the account
Usually the 30-day account age rule, or too many failed attempts on that account. Wait, then retry — and don’t keep hammering it, as repeated failures can extend the lockout.
“Couldn’t unlock — the place where the account is registered does not match the place where the phone is sold”
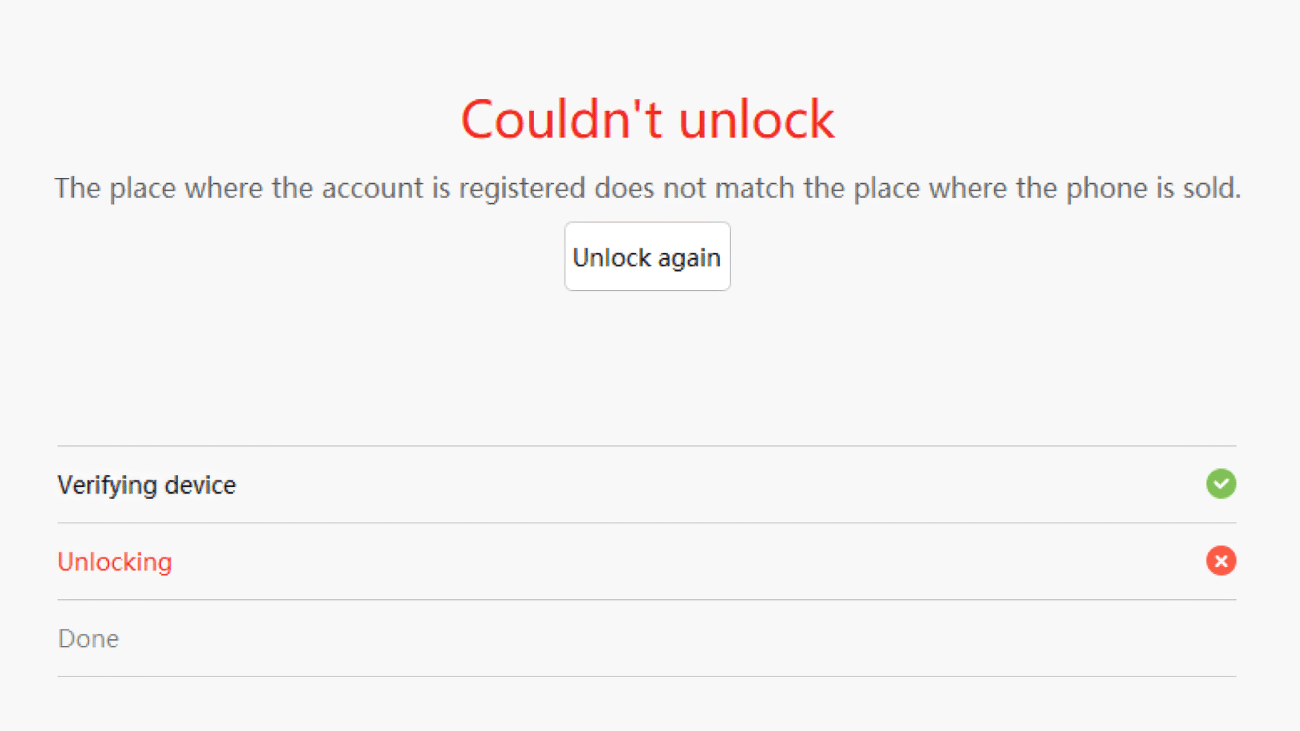 The region mismatch error from Mi Unlock Tool. Screenshot courtesy of miuirom.org.
Xiaomi requires the region on your Mi account to match the region the phone was sold in. If you registered your account in a different country from the one you bought the phone in, the unlock is refused no matter how many times you retry. Create or switch to a Mi account registered in the phone’s country of purchase.
The tool asks for a wait time you didn’t expect
The timer started at Add account and device. There’s no legitimate way to shorten it, and anyone offering to is either running a paid token service that can permanently burn your account or selling you a brick. Do the wait.
Error 0x401 / 0x483
Generic verification failures. Almost always a network or account state problem — reconnect the internet, log out and back into the tool, and try again.
Phone stuck in fastboot after flashing
Hold Power for 10–20 seconds to force a reboot, then try flashing your last known-good boot.img. If the screen is unresponsive, hold Power + Volume Up + Volume Down together for 15 seconds to get into the EDL/rescue mode, which can restore stock.
7. Frequently Asked Questions (FAQ)
Q: Will this guide work on the Redmi 9 Global variant?
No. The Redmi 9 Global (lancelot) will not work — flashing the wrong firmware and bootloader on either device will brick it.
Q: Is the Redmi 9 (India) the same as the Redmi 9C?
Yes. The Redmi 9 (India), codename cattail, is also known as the Redmi 9C, codename angelica, worldwide.
Q: Can I complete this process on Linux or macOS?
No, not the Mi Unlock part — it ships Windows only, and some of the required drivers are Windows only. Once the bootloader is unlocked you can use fastboot from Linux or macOS freely for everything after that.
Q: Why do I need a SIM card with an active data plan?
A working SIM card with a data plan is essential for the unlocking process. You must turn off Wi-Fi and stay on mobile data when checking the status in the Mi Unlock menu.
Q: Will this process wipe my data?
Yes. You have to reset the phone to factory settings as part of the setup, so make sure to back up all data before starting. Relocking the bootloader later wipes it again too.
Q: Does unlocking void the warranty, and can I still take OTA updates?
Unlocking is not covered by warranty, so Xiaomi support may decline anything unrelated to a hardware fault. On MIUI you can still take stock OTA updates, but once you flash a custom recovery or ROM, stop expecting them.
Q: Will unlocking break my banking apps?
Yes, most likely. Google Pay and banking apps rely on Play Integrity / SafetyNet, which an unlocked bootloader fails. If you rely on those, root with Magisk and hide the root, or consider not unlocking at all.
Q: How long does the whole thing take?
Ten minutes of actual work, plus the wait. The wait is either 168 hours (typical on MIUI) or nothing at all, depending on your account.
Q: Should I try this on my primary phone?
No. If you’re trying this on your personal or a very important phone, you should leave it and do something else.